
How to Create a Bat-Friendly Habitat and Transform Your Yard
- Christel Dussart

- Mar 4, 2025
- 4 min read
Updated: Mar 10, 2025
Bats are not just spooky creatures that flap around at night; they play an essential role in our ecosystem. These flying mammals help keep our gardens healthy by controlling insect populations, pollinating plants, and dispersing seeds. By creating a bat house, you can invite these nocturnal allies into your yard. This guide will outline the numerous benefits of bats, provide a step-by-step process for building a bat house, and offer valuable tips for setting it up effectively.

Why Build a Bat House?
Transforming your yard into a welcoming space for bats comes with a host of benefits.
1. Natural Pest Control
Bats can consume between 600 to 1,000 insects per hour. By creating a habitat for bats, you can significantly cut down on mosquito populations, especially during summer. Studies have shown that a single bat can eat up to 6,000 insects in one night, making them a more effective and natural pest control solution compared to chemical pesticides.
2. Pollination and Seed Dispersal
About 500 species of plants rely on bats for pollination, including important crops like bananas, avocados, and agave. In fact, the fruit industry greatly values bats for their role in plant reproduction. Additionally, bats aid in seed dispersal, helping to sustain plant diversity. According to research, areas with bat populations see a 10% increase in plant diversity.
3. Educational Opportunities
Building a bat house can serve as a fun and educational experience for families. It provides an opportunity to learn about wildlife conservation and instill appreciation for these often-misunderstood creatures. Engaging with nature can enhance children’s understanding of ecology and the importance of maintaining balanced ecosystems.
How to Build a Bat House
Creating a suitable bat house is more straightforward than it may seem, even for those new to DIY projects. Follow this step-by-step guide to get started.
Materials Needed
Untreated wood (cedar works well because of its durability)
Screws or nails
Weatherproof paint or stain (preferably non-toxic)
Wood glue
A saw, drill, and screwdriver
Sandpaper
Step 1: Design Your Bat House
Start by planning your design. A typical bat house should measure at least 14 to 24 inches tall and 12 inches wide. An ideal structure includes multiple horizontal chambers for roosting.
Step 2: Cut the Wood
Once you have your design, cut the wood according to your dimensions. Typically, you need a back panel, two side panels, a front panel with an entrance hole, and internal partitions for separate chambers.
Step 3: Assemble the House
Assemble the pieces using screws or nails. Ensure the entrance hole at the top of the front panel is about 1.5 inches in diameter, allowing easy access for the bats.
Step 4: Sand the Edges
Use sandpaper to smooth all edges. Sharp surfaces can harm bats’ delicate wings, so it is crucial to create a safe environment for them.
Step 5: Weatherproofing the House
Coat the exterior with weatherproof, non-toxic paint. Avoid painting the interior, as bats prefer a rough texture to cling to while roosting.
Step 6: Installation
Choose an ideal location to install your bat house. It should be at least 10 to 15 feet off the ground in an area that receives plenty of morning sunlight. Position it near water sources, as these areas attract the insects bats love to eat.
Or you can follow the exact step-by-step instructions provided by the The Nature Conservancy here: https://www.nature.org/content/dam/tnc/nature/en/photos/b/a/bat-house-building-guide.pdf
Optimal Placement for Your Bat House
Proper placement can make all the difference in whether bats will choose your house as their new home. Follow these tips to ensure optimal positioning:
1. Choose the Right Location
Bats thrive near water sources, such as ponds, lakes, or rivers. Place the bat house close to these areas to attract them.
2. Secure to a Structure
Mount the bat house on a stable tree, pole, or side of a building instead of placing it directly on the ground. Ensure it’s away from high-traffic areas, which can deter bats.
3. Orientation
Orient the bat house toward the southeast. This positioning allows it to catch the warm morning sun, which is crucial for bats to start their day.
4. Monitor and Maintain
Once installed, give the bats some time to find your house. Look for signs of occupancy, like droppings, and ensure the structure remains clean and intact.
Encouraging Bats to Move In
While waiting for bats to discover their new habitat, consider these additional steps to make the area more inviting:
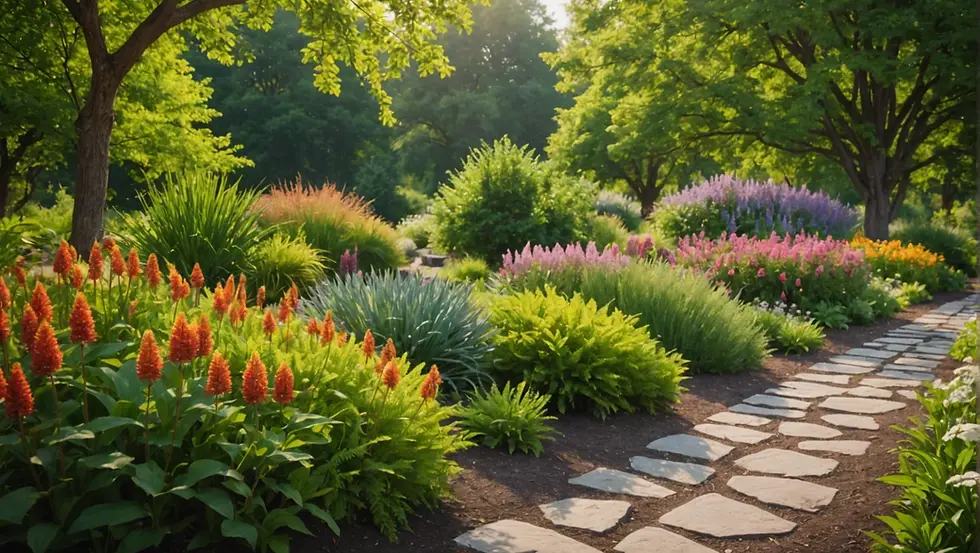
Plant Native Flora
Enhance your garden's ability to attract nighttime insects by planting native flowers and shrubs. Plants like evening primrose and moonflower can draw moths that bats love.
Reduce Light Pollution
Bats prefer darker environments that allow them to hunt for insects undisturbed. Minimize any bright lights around your yard to create a more welcoming atmosphere.
Educate Your Family and Friends
Sharing information about the ecological importance of bats can help create a supportive community focused on wildlife conservation efforts.
Creating a Bat Haven
Building a bat house is not just a rewarding DIY project; it also significantly contributes to environmental support. By making your garden a more inviting space for bats, you gain a valuable ally in natural pest control and plant pollination.
As you carefully consider the bat house's placement, design, and maintenance, you increase your chances of attracting these fascinating creatures. With patience and care, your backyard can thrive, providing bats a sanctuary where they can flourish. Together, let’s make a positive impact on our environment—one bat house at a time!
For more information on fascinating lives of bats, checkout the www.batconservation.org and www.batslive.pwnet.org


Comments